Translating content
With the Internationalization plugin installed, it is possible to manage content in more than one language, called "locale". To manage content in a specific locale, the latter must be added beforehand through the Internationalization settings (see Configuring Internationalization locales).


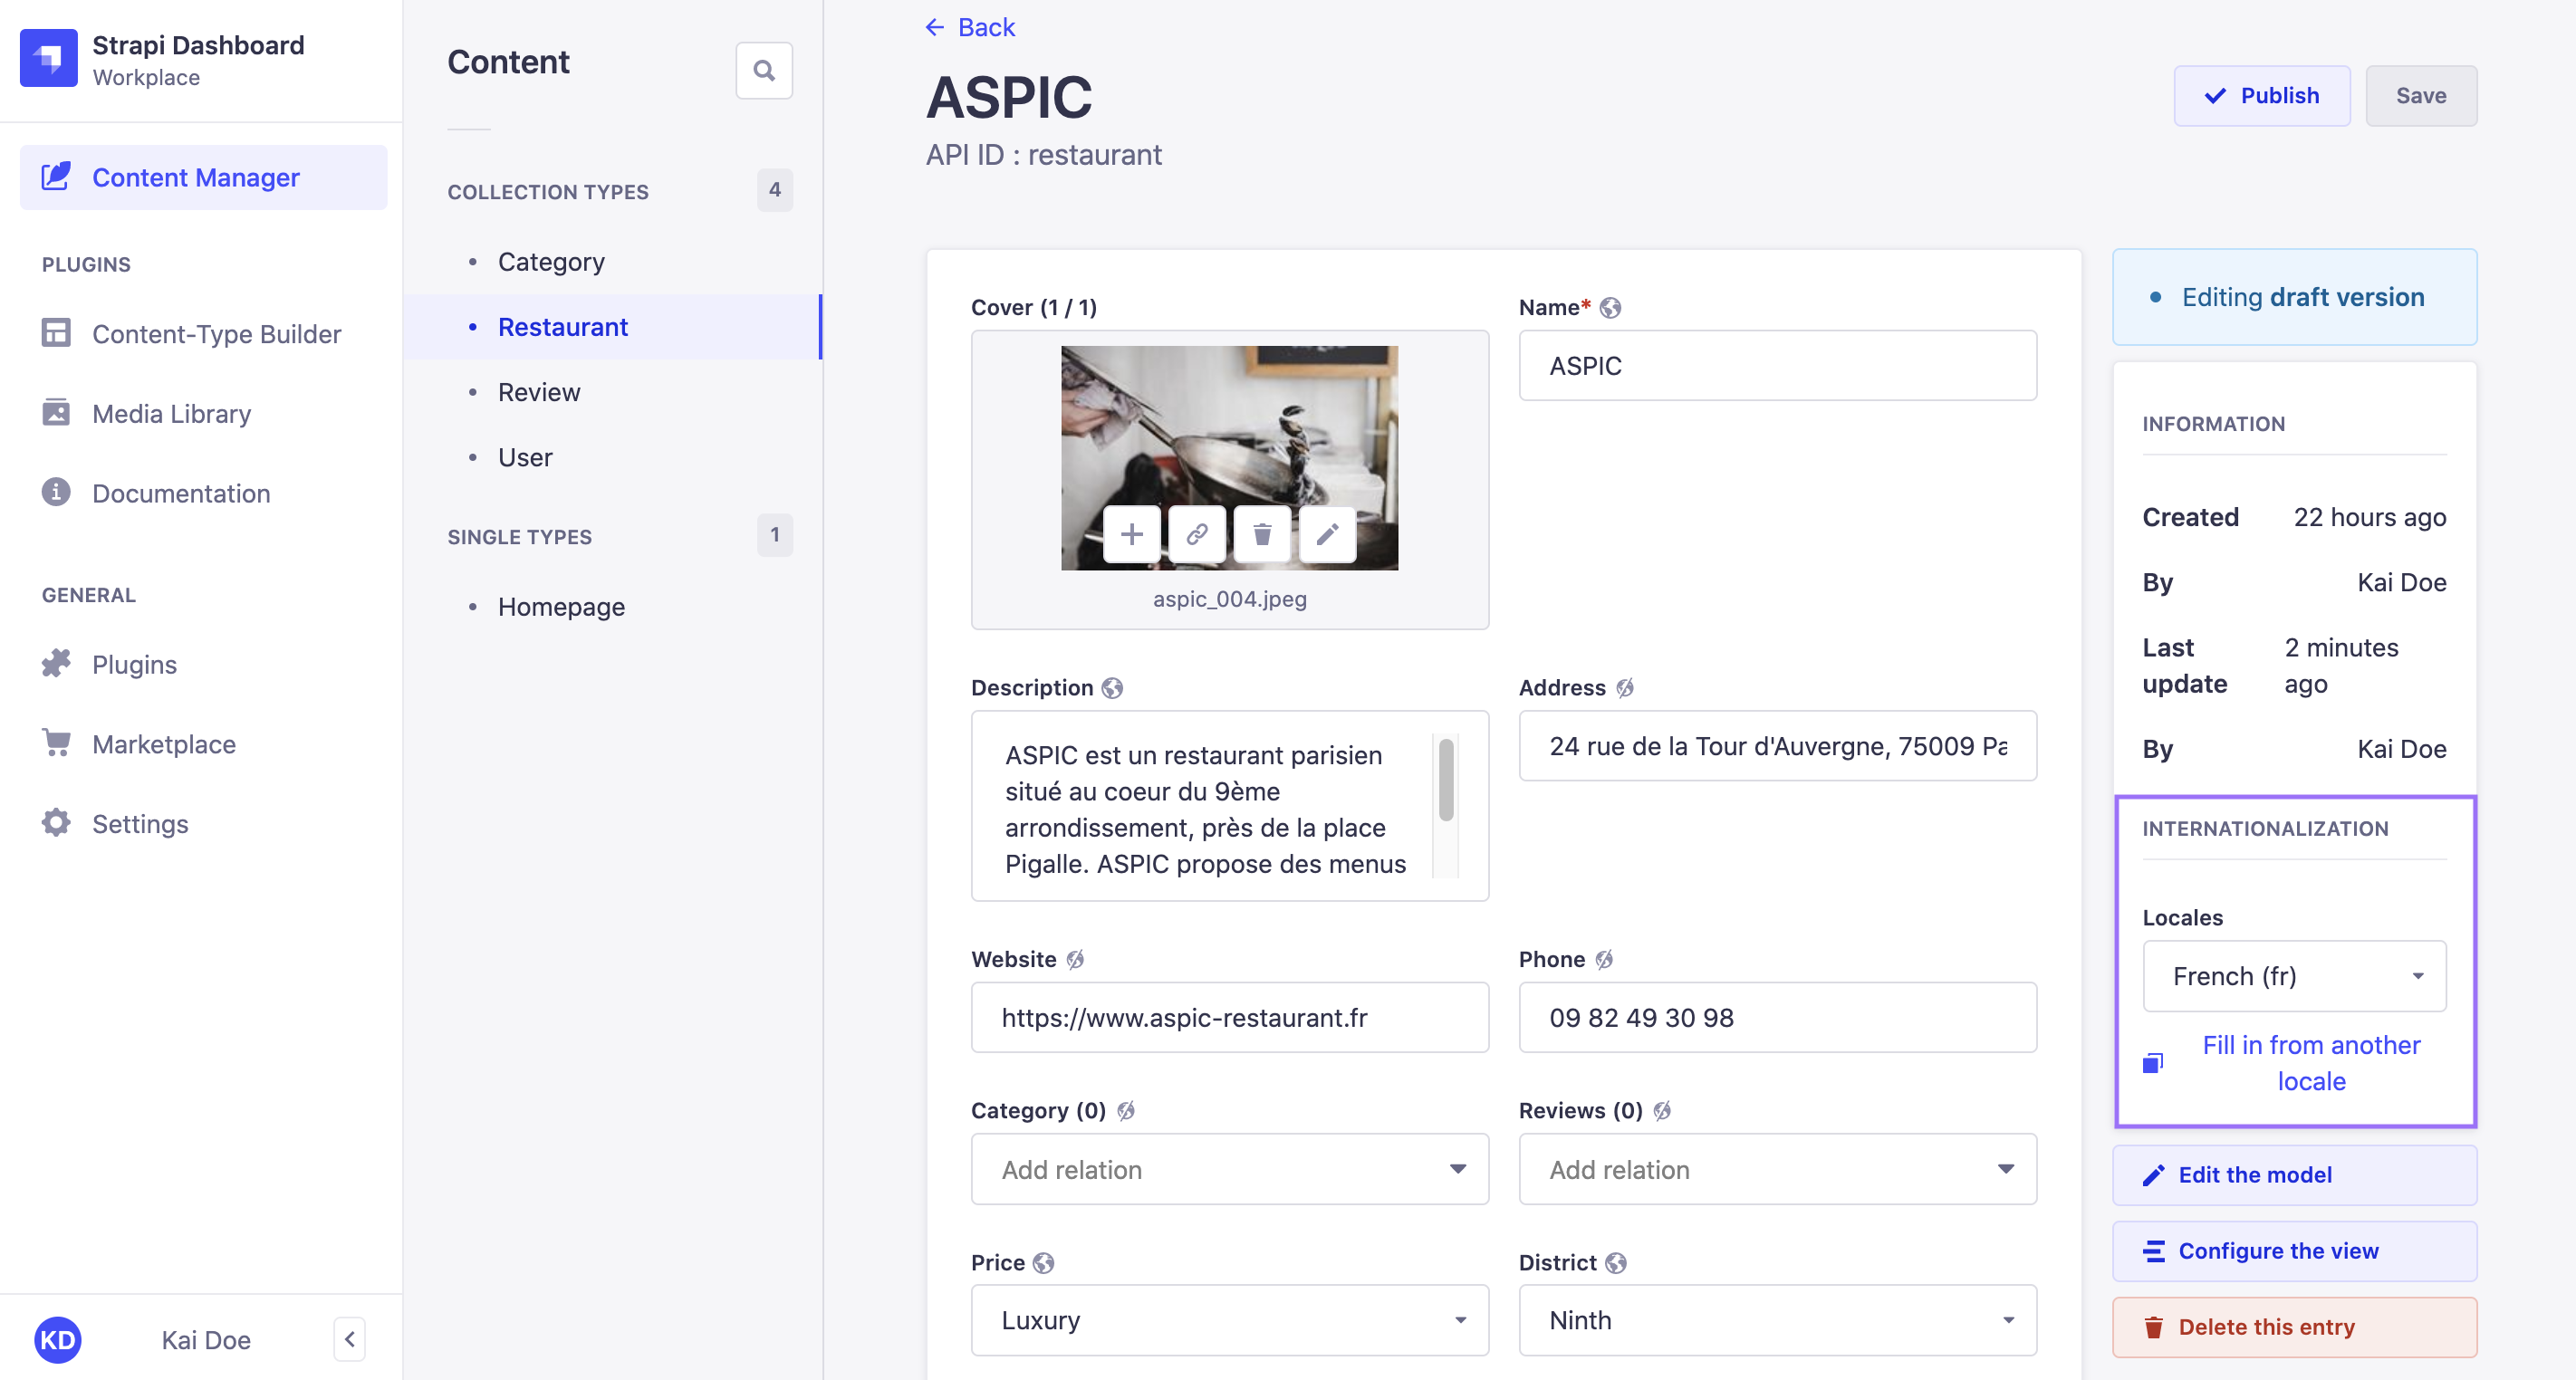
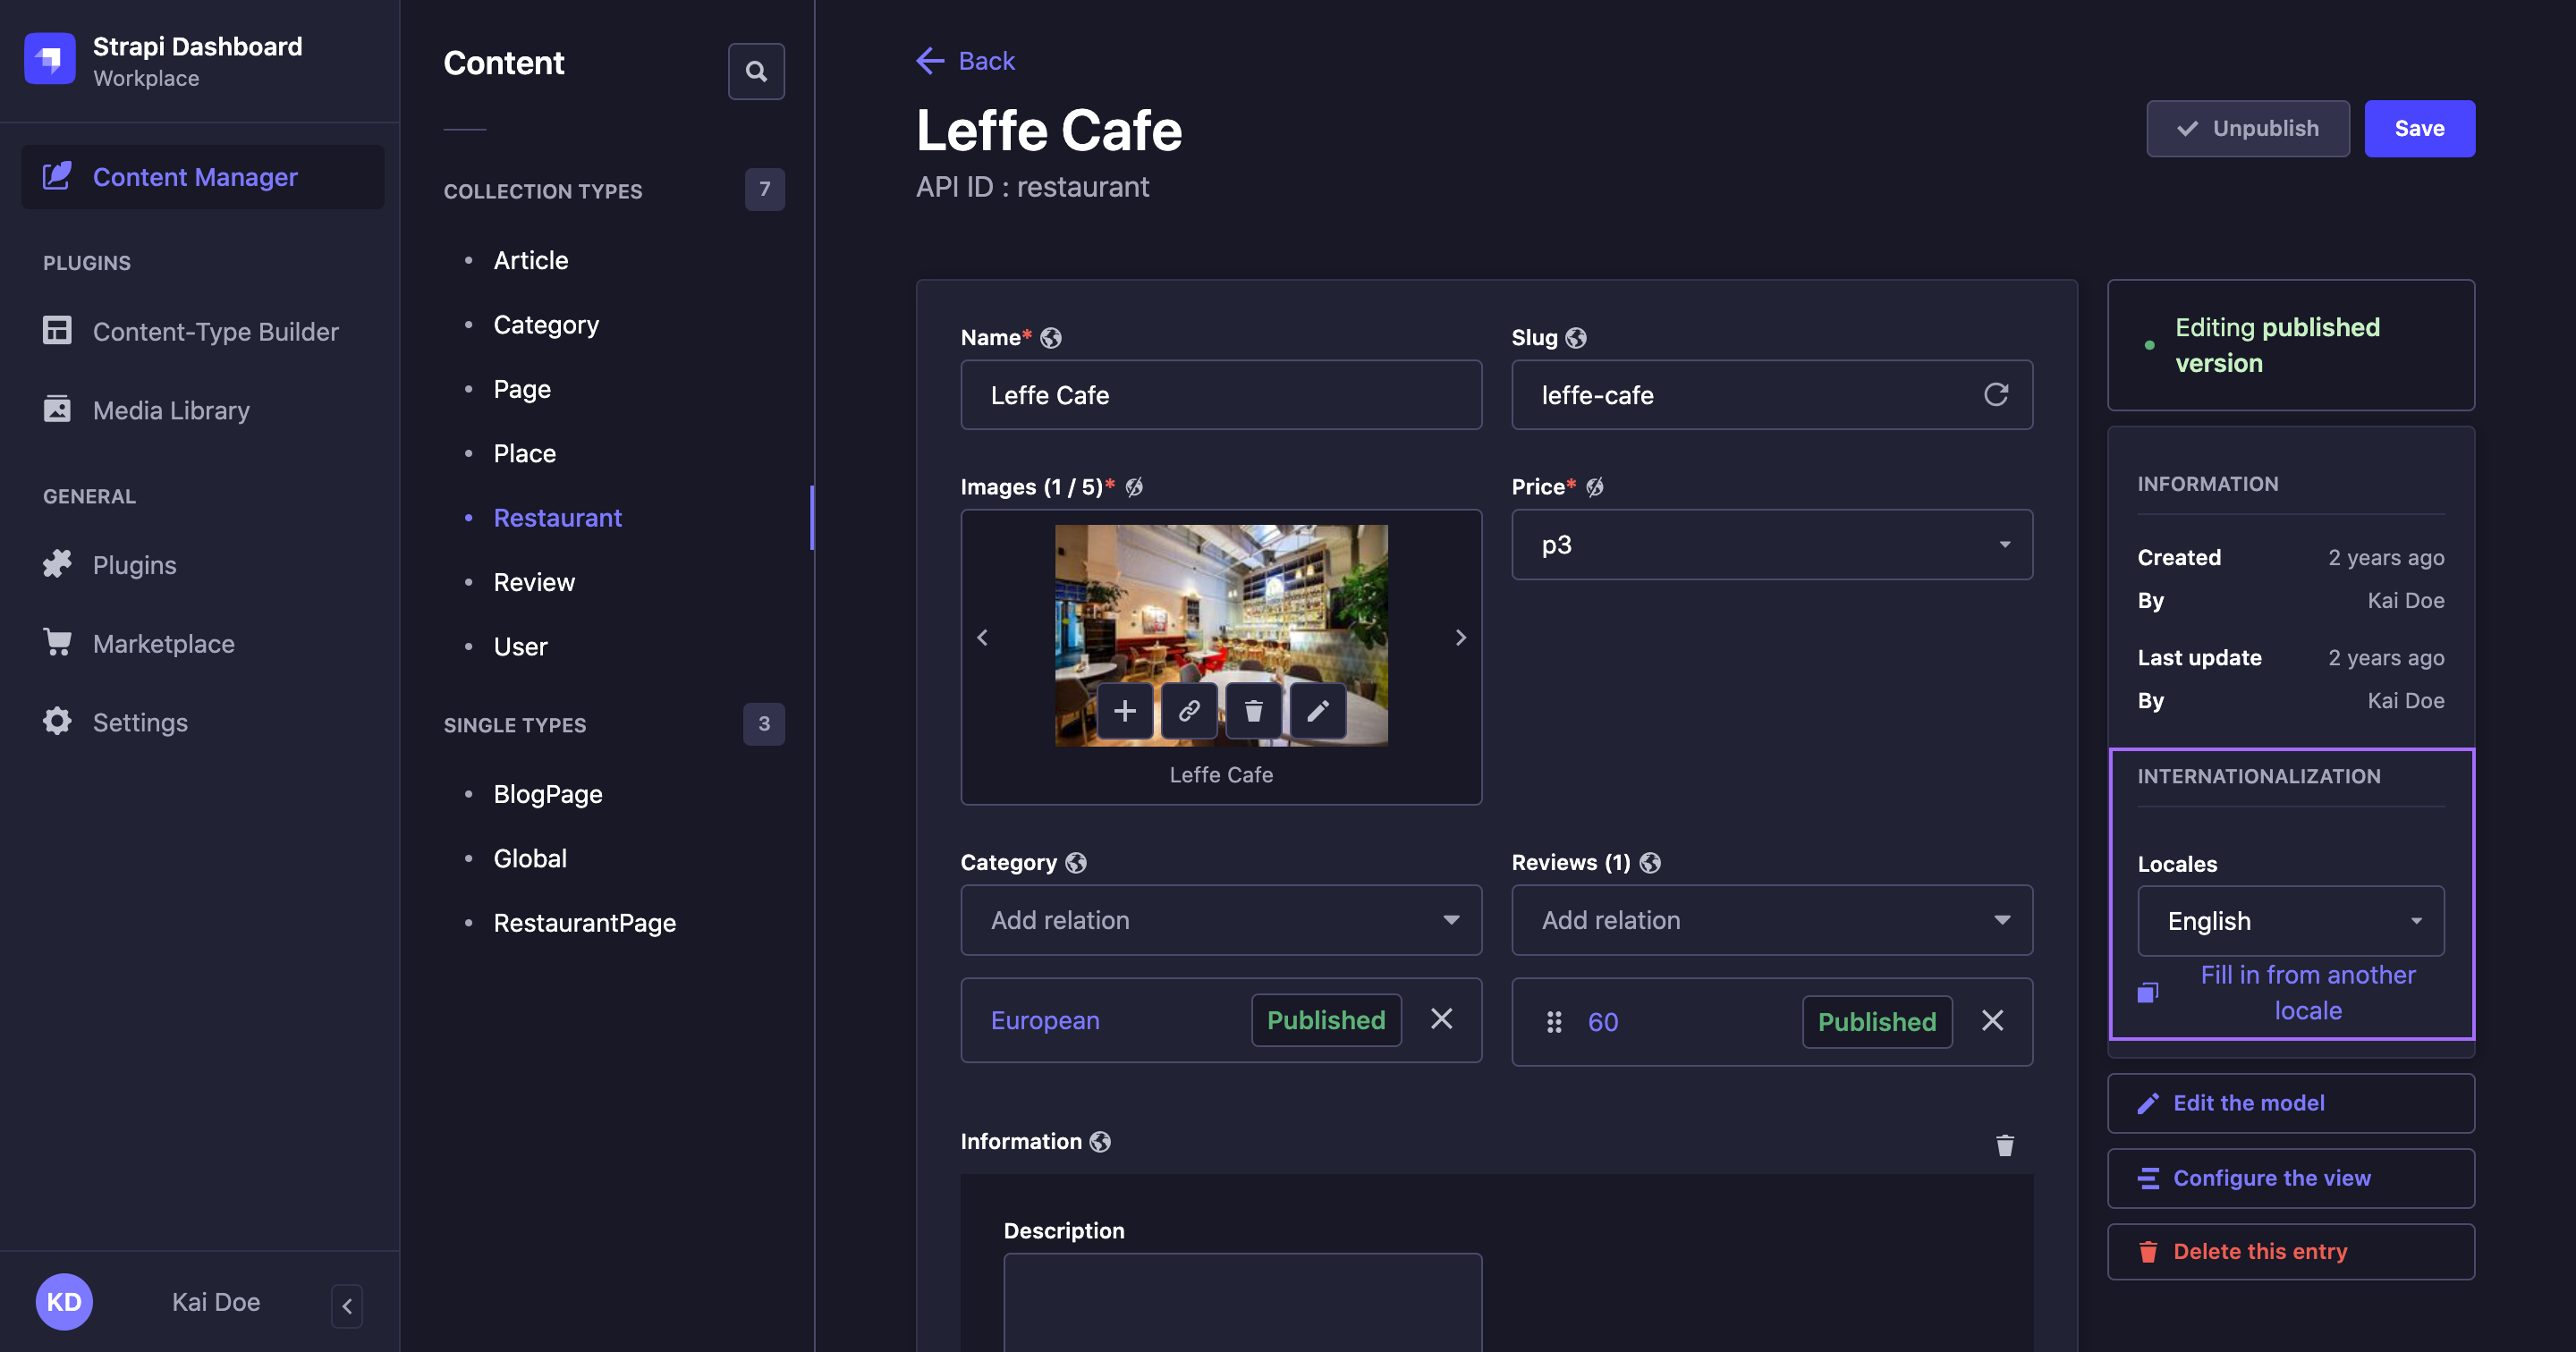
In the Content Manager, when the Internationalization plugin is installed, some options are added to the edit view:
- an Internationalization box, displayed in the right side of the interface, from where it is possible to switch locales
- icons displayed next to every field to indicate whether the field can be translated or not:
indicates that the field can be translated,
indicates that the field cannot be translated: its content is the same for every locale (i.e. changing the value of a non-localizable field changes it for all other locales).
The Internationalization plugin also allows dynamic zones and components to differ from one locale to another. Depending on the locale, dynamic zones can indeed have different structures depending on the locale, and repeatable components can have different entries and be organized differently as well.
Content can only be managed one locale at the time. It is not possible to edit or publish content for several locales at the same time (e.g. Clicking on the Publish button will only publish the content for the locale you are currently working on).
To translate content in another locale:
- Access the edit view of your collection or single type.
- In the Internationalization box, click on the Locales drop-down list.
- Choose the locale in which you want to translate your content.
- Translate your content by filling up your content-type's fields (see Writing content).
Click on the Fill in from another locale button in the Internationalization box for all non relational fields to be filled up with the values of another chosen locale. It can be useful if you do not remember what was the exact content in another locale.